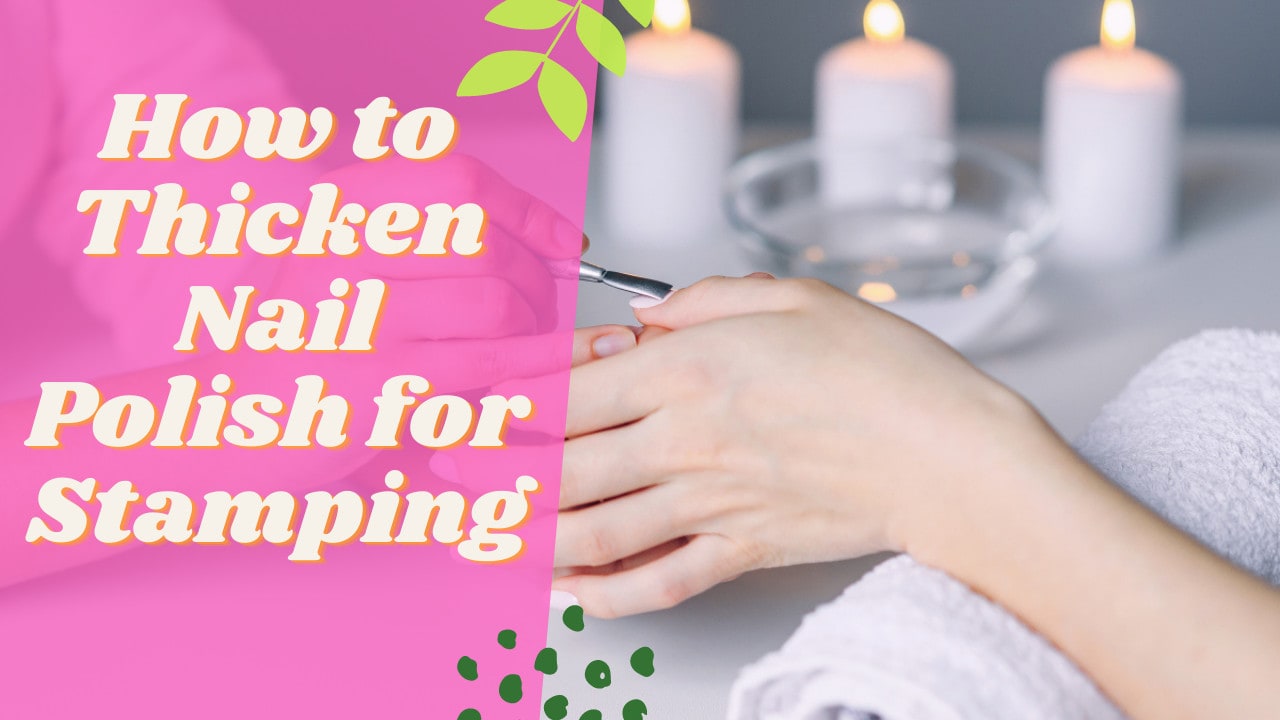
How to Thicken Nail Polish for Stamping
Nail Stamping is a creative way to give your nails a unique look—be it glamorous, adorable, sassy, or just fun.
If you are after nail stamping, nail polishes that are thicker in consistency are ideal to use. Regular nail polishes and gels are usually very runny and have a comparatively thinner consistency to bear the nail stamps.
Though nail polish thickeners and nail stamps are conveniently available, wouldn’t it be fun to give DIY a shot? Plus, what if you run out of stamping polishes? This teensy bit of info would help you in that difficult time. Even if you’re looking for nothing but just thicker nail polish.
Experimenting with nail polish is completely risk-free since it can easily be wiped with a nail polish remover, and you can start all over again.
But before we go further ahead, let’s review for the last time what nail stamping actually is and why we need to thicken nail polishes for stamping in the first place.
What Is Nail Stamping?
Nail Stamping is a simple and fun technique of pasting different patterns and textures on nail paints. Though it is most common in young people, no adult should be left from experimenting with this fun at least once in a while, right?
Nail art has always been a source of excitement, style-expression, and creativity for women and nail stamping is just another reason to cherish the art. To stamp creative, elegant, or even sassy patterns on nails, one’s nail polish has to be thick enough to bear the pattern or the texture. That is why nail polishes are thickened to carry out the art of nail-stamping successfully.

You can try out this simple step-by-step guide to Thicken Nail Polish for Stamping.
Step 1 — Letting the Nail Polish stand for some time
We’ll start with evaporating the solving agents from the nail polish. This just means letting your nail polish dry a bit.
Open the bottle and set aside the brush, and leave it to stand for a while. This will cause the solving agents to evaporate and gradually make the nail polish thicker.
A tip to make this process more efficient is to leave the bottle in a warm and ventilated area. What’s even better is a fan nearby, which will further speed up the thickening process.
A precautionary measure to take is never leaving the bottle close to a heat source since the nail polish is highly flammable.
Step 2 — Cleaning the Brush
While you’re waiting for the nail polish to thicken, take a small clean bowl and pour a small amount of nail polish remover.
Clean the brush gently with a lint-free wipe.
After that, soak it in the bowl where you poured the nail polish remover and clean the polish off the brush.
When the brush is free of all polish, you can take an extra step and rinse the brush with some water and thoroughly dry it with a lint-free cloth.
Step 3 — Checking the Consistency of the Nail Polish
Check the consistency after every 10 minutes or so.
It can possibly take a day or two for the solvents to completely evaporate from the nail polish, so you must regularly check its consistency, else it will become solid.
To check the consistency, use a toothpick to slightly dip it in the nail polish.
Once you’re satisfied with the consistency and are sure that the consistency is sufficient for nail stamping, you’re good to go! That wasn't too hard, now was it?
What to do if the Nail Polish becomes too thick?
If you’ve left the nail polish to dry out for too long, or perhaps forgot about it and it has turned thicker than you expected it to be, then don’t stress out.Because you can reverse the damage, just by adding a bit of nail thinner to the nail polish bottle and mixing it, the normal consistency will be restored in no time.
Is there a faster method to thicken nail polish?
Fortunately, yes! Thickening Nail Polish with an additive known as Xanthan Gum is also common among DIY beauty influencers.
Xanthan Gum is a sugar-based additive that is usually used in the food and cosmetics industry to thicken the consistencies of liquids.
Don’t worry, this method, like the previous one, is very simple.
Just add a very small amount of xanthan gum to your nail polish and slowly stir to let the gum mix completely with the polish.
Keep adding a small amount to the nail polish and continue to stir. Don’t forget to check the consistency with a toothpick every time you add the xanthan gum.
Repeat this method until you are completely satisfied with the consistency of your nail polish.
Are there any cons of thickening nail polish?
Nail Stamping isn’t the only use of thick nail polishes. You can also use these methods to achieve your preferred consistency of nail polish.
It is also possible that the color you want for stamping isn’t readily available as a stamping polish, so you have the advantage of thickening your regular nail polish.
So technically, there isn’t any drawback in thickening nail polishes. If you don’t worry about using a perfectly good bottle of nail polish and experiment with something new; feel free to just go on and make your very own unique stamping polish!
Best Thickening Agents for Nail Polishes:
While there are several nail-thickening agents available in the market, the best one among them is believed to be Xanthan gum powder which is mainly made from corn, soy, and wheat. Xanthan is organic, chemical-free, and convenient to find. It is also used in food products like jams and sauces, that’s just how safe it is to use.
Bottom line; The Uncompromised Love For Nail Stamping:
Trends in nail art have evolved throughout the years. Back in the day, getting a unique procedure done on your nails used to be a priority.
Today, nail stamping is as easy as cake. As we went through the methods above and found out how DIY nail polish thickening can be so simple, with little or no cost.
All that you need now is a Nail Stamping Kit and voila! you’re good to go.