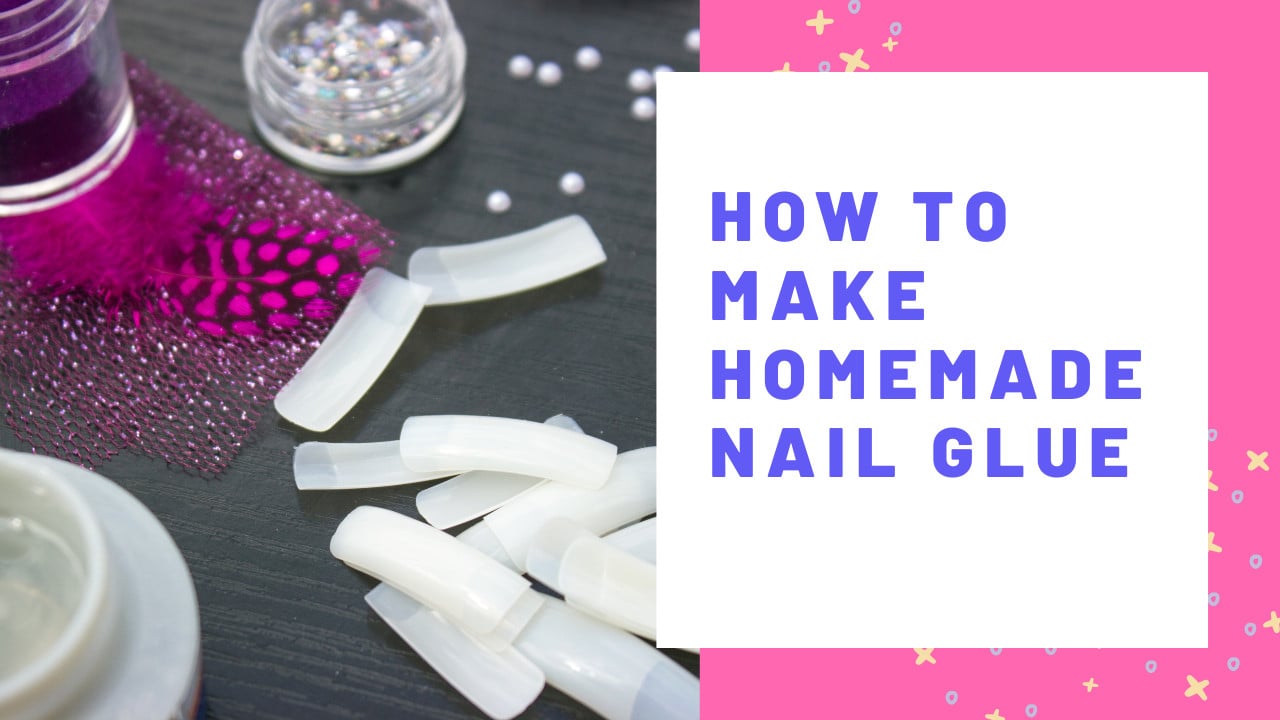
How To Make Homemade Nail Glue
Acrylic nails, French tips, silhouette, and gel nails. The excitement for nail art is never-ending. We love to get it done by salon professionals at peace. However there may come many times when we run into emergencies such as when one of our nails break, a sudden guest comes over, or when we simply don't want to or don’t have the time to go to a salon yet still want our nails to be done.
Then we bring our skills into action and get our nails done by ourselves. And that is why one should always keep a few nail polishes and nail glues at home. However one can run out of them at a crucial moment and that’s okay. There’s always a way out.
We actually have a way of making quality nail glue at home. Because pretty nails should never be compromised.
How To Make Homemade Nail Glue:
Nail glues are easily available at every other convenience store. However, if you want to DIY it or need to DIY it, we shall teach you how to make a homemade nail glue all by yourself, step-by-step below.
Tools Required:
A liquid glue (can be PVA/White Glue/School Glue, etc)
Clear nail polish (if unavailable, colored nail polish would also work)
A toothpick
A pre-used small bowl to mix ingredients
Making the Glue:
Step 1: Pour 4 spoons of liquid glue into a small bowl.
Step 2: Add 1 spoon of nail polish into the glue.
Step 3: Mix the ingredients with a toothpick.
Applying the Glue and Artificial Nails:
Step 4:Apply the mix on your thumb’s nail with the toothpick (or with an old nail polish brush). Press fake nails against the nail and wait for a minute.
Step 5: Repeat the application method to the rest of your fingernails, one by one.
Step 6: Keep your hands at rest for 10 minutes so that nails can settle correctly.
And Voila! You are done.
Removing the Glue:
Removing fake nails with homemade glue is easy and quick. To do that,
Add steamy warm water and nail polish remover in a bowl. The quantity of nail polish remover should be greater than warm water.
Soak your nails in the solution for 30-45 minutes.
The nails should be getting out effortlessly by then. Wash hands and moisturize them well when done.
How Do I Store Homemade Nail Glue?
Homemade nail glues last for about 2 weeks in a row if stored properly.
To store homemade nail glue, all you need is an empty nail polish bottle. You can clean the nail polish bottle and its brush by rinsing it with nail polish remover and water. When cleaned, dry it well.
Then, pour the homemade nail glue into the bottle and close tight. Make sure that the nail glue does not dry out by screwing the cap tight and keeping the bottle away from direct sunlight, air, or cold temperature.
Always keep it at room temperature and enjoy your free DIY nail glue for 2 weeks.
The Bottom Line: To some, DIYs may seem to be just a bit extra and unnecessary while for some, it's a favorite hobby. However emergencies call for both, so learn how to make a homemade nail glue and rock your unpredictable emergencies like a pro.